Checks are becoming more and more infrequent as the world has largely moved on to paperless banking and payment systems with many alternatives to checks, but there are still certain times when you may need to send a check.
Bad check issues can delay the transfer of funds between bank accounts, and can also put you at risk of being investigated for check fraud.
Of course, the latter would be unlikely and any investigation would come to nothing, but it’s still something you should be wary of when writing a personal check.
You may even need to write out checks for high amounts such as $1000. There are several steps to go through; although it is mostly like writing out any other check, you will still need to make sure you’ve got it right so that it will be accepted by the financial institutions involved.
This can be a daunting task if you’re not used to it or don’t know what to do, so we can take you through it now.
Read on to find out how to turn a blank check into an official check that will be accepted and won’t fall foul of bad check laws.
Figure Out The Amount
Even if you know exactly how much you want to send, you may not have needed to write it down before. Therefore, it can be difficult to know the correct way to write the figure so that it can be interpreted by the bank teller properly.
You need to write it in both digits and words, which can be confusing (since most people only ever use digits when they are referencing numbers.
They often get mixed up when dealing with the largest amounts, and what they actually write ends up not matching with what they meant.
Dollars And Cents
Some amounts are round dollars, while others will have a number of cents at the end. If you’re writing a check with cents, you’ll need to add these onto the end of the total in numeric format, both in the dollar box and in the ruled dollar space.
This means writing the cents in numerals after the check in dollars, as well as in the form ‘xx/100’ when you have written the dollar amount in words.
Each x represents a digit numeral, such as 5, 9, or 0. The reason for having the number written twice is so that the bank can process it accurately and be sure of the correct amount.
Please note that an American book of checks will automatically be set up for dollar amounts, and you can’t send any other currency type with it.
If you want to send GBP, for example, you will need to make the check payable to someone with a bank account at the other end that is used to dealing with international transfers. Also, these usually cost a lot of money for the recipient to receive and cash in.
Examples
If you’re still wondering what we mean, it’s easier to show you here, rather than try and explain verbally any further. Take a look at the following examples and use them to write your own dollar amounts, which should all be written in lowercase letters.
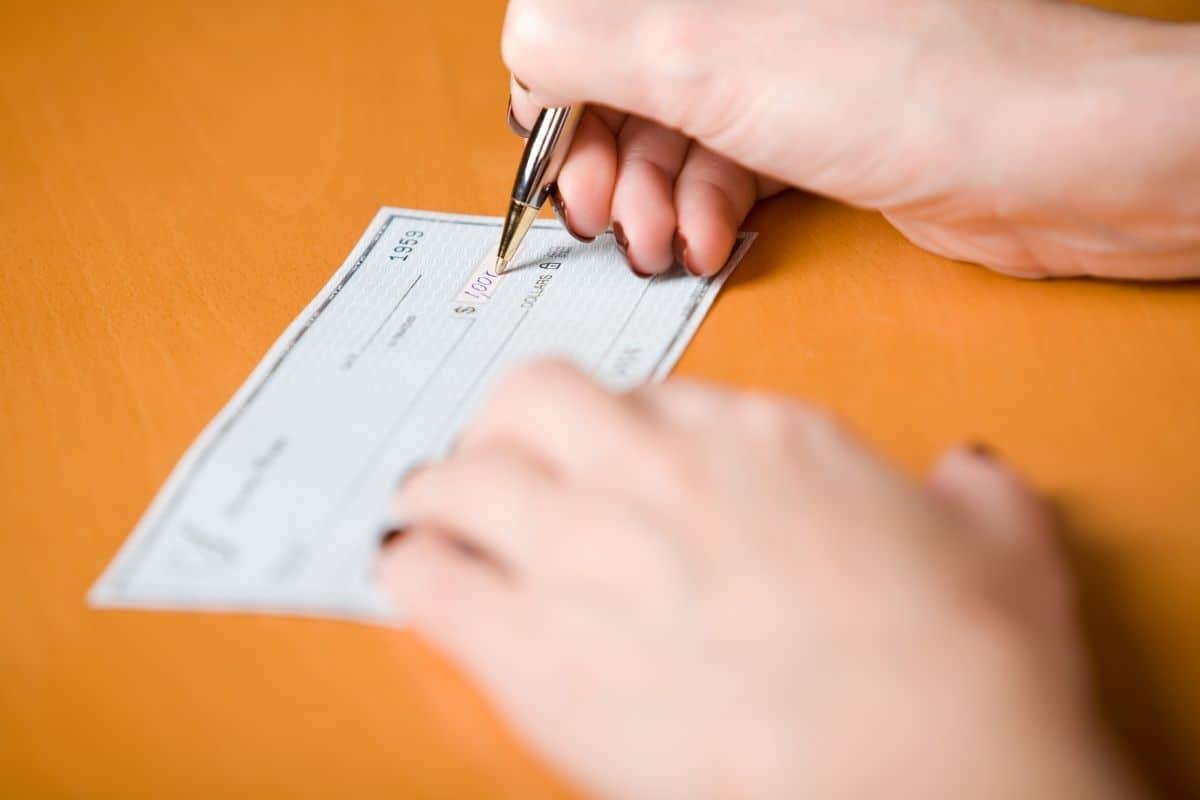
$1000
$1000 exactly is probably the simplest amount to write. You should write that in numeric form in the dollar box (without the dollar sign, which is already printed for you).
Then, write in ‘one thousand dollars and 00/100’ in the dollar space, which is the long line underneath the payee. This 00/100 signifies that there are no loose cents at the end.
If you prefer, you may write ‘only’ or ‘even’ in place of the fraction form, e.g. ‘one thousand dollars only’.
$3486.17
Obviously this is quite a random figure, but it could be a calculated amount for bills or tax etc. Write ‘3486.17’ in the dollar box, making sure that the period is fully visible (otherwise it may look like you’re trying to pay far more than you actually are).
In the dollar space, you will write the dollars with cents out in full. This means writing ‘three thousand, four hundred eighty-six and 17/100’.
Navigate The Check
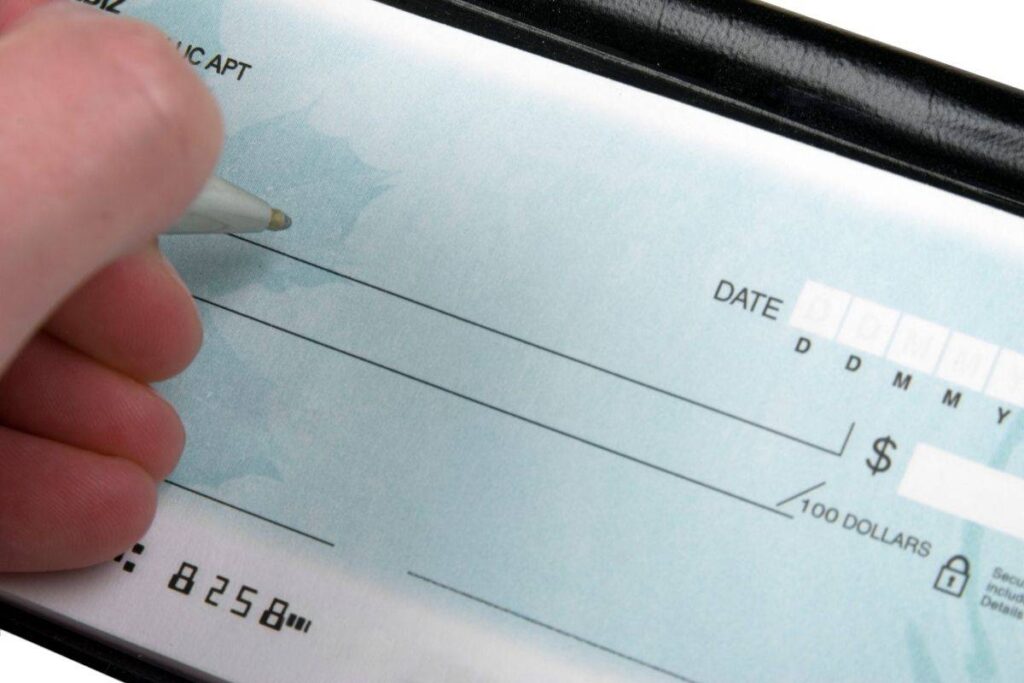
You will start with a blank check, which will have different spaces for entering key information. These will include a payee line, a dollar amount line, a dollar box with a dollar sign at the front for digit numerals, a date space, a memo field and a signature line.
These constitute all the basic steps you will need to complete when filling in the check.
Once you’ve written the dollar amounts as in the detailed step above, you can complete the list of steps for filling in the rest of the check.
These should be more straightforward, as long as you know what information they are looking for (some of the wording uses old-fashioned language, which could trip you up if you’re not careful).
In the top right-hand corner, there should be a line labeled ‘date’; this is self-explanatory and you can write it in whatever format you like, provided that the day, month and year are all included.
You can try ‘April 4th, 2022’, 04/04/22, 4 April 2022, etc, as they are all acceptable formats. However, it is best to write the month in letters to eliminate any ambiguity about whether it’s the month or the day.
On the left, just down from the date, is a line that says ‘pay to the order of’. This means the person who you want to make the check payable to.
This can be either an individual’s first and last name, or a company name. You can write this in capital letters or lowercase letters as you prefer. A check payment to a company will need to be deposited into a business bank account.
After the dollar check (both box and space), you will notice a line saying ‘for’. Some people mistakenly believe that this is where they should write either the check in dollars or the person to make the check payable to.
However, this is actually called the memo field, and is simply there to note down why you are making the payment.
As there is only a small space, you will need to condense it into just a few words. This not very detailed step is optional, though, so you can leave it blank if you wish.
The last line on the check is for your signature. Whether you have filled in the memo field or not in the left corner, you should sign the check on the right.
This will validate your check and can be used to prove that you have sent it, and you’re not a victim of theft by check. Sign it using the same signature you have on your debit card or credit cards, because it needs to be recognizable.
Keep Records
A check register is useful to have because it allows you to keep track of what checks you have sent and when. Every time you cash checks, you should make a note of all the information you may need, including the date, the dollars on check and the check payable persons.
Each check in your check book will contain a check stub that tears off the actual page and has some details on, but neither this nor your bank statements will be able to tell you what the check was for.
Even if you think you will remember, you could get a bunch of checks mixed up in your head down the line – a cash register will help separate each individual check and let you make sensible financial decisions with confidence in the future.
Store this along with your credit cards, banking histories and any other useful accounts-related documents so you have everything within easy access in one place.
Frequently Asked Questions
We’ve covered the process of writing a check, but there are plenty of other things that can help you with checks in general. Here are some common questions people ask when it comes to checks:
What Equipment Do I Need to Write A Check?
Never write a check in pencil, because that could make it vulnerable to fraudsters, and a dishonest person could simply erase parts of the information and pretend it’s meant for them – always use a pen instead to prevent theft by check as much as possible.
If you make a mistake, cross it out neatly with a pen and ruler and write in the correct information. However, be careful not to make it look like a crossed check. Alternatively, you could just rip the check and start again on a blank check.
When Should I Deposit A Check I’ve Received?
Deposit a check at your earliest convenience so you don’t forget about it. It’s easy to leave checks sitting in your wallet or purse for a couple of months because you feel like you don’t have time to go to the bank, but you could end up with a lost, damaged or expired check.
This would essentially lose you an amount of money you would otherwise have been able to deposit into your bank account, as you may not be able to get a new check written for the same.
What Happens If I Forget To Sign The Check?
A check without a signature cannot be cashed, so you must always make sure you have included this in the bottom right corner. In fact, you need to fill in every part other than the memo field, which is optional.
If you don’t include all the correct information, you will have issues when writing a personal check because it won’t go through properly.
With a check for payment of bills, for instance, you could end up with a demand for a payment letter because your check has bounced.
What If I Run Out Of Space?
Since the number you are writing is quite long and is made up of many parts, you may find that you don’t have enough space on the single line to write it out in full.
This is particularly likely if you have large handwriting or you make a mistake. What you can do is simply pretend there’s another line just below, and continue writing the amount there. Don’t go onto a line that is meant for something else, but utilize the blank space available to you.
Final Thoughts
As you can see, writing a check for $1000 isn’t as tricky as you might have originally suspected, as long as you follow the complete steps laid out above and take your time.
If you rush it, you are more likely to make mistakes – this would be particularly problematic for the larger purchases you are dealing with in the situation.
Filling it in correctly will enable the payee to make a direct deposit, saving both their time and yours and protecting you from theft by check.
It may take a little bit of practice to get used to the formats, but you will soon learn that writing a check is still a useful form of paper payment.